
Installation · 3 min read
What Happens During a Window and Door Survey
The technical survey is where an approximate quotation becomes a fixed, accurate order. Here is what a surveyor actually checks, and why.
Collections
Specification
Installation · Flagship guide
New windows and doors are one of the more disruptive home improvements you can commission, but only briefly. This guide sets out exactly what happens, in what order, so there are no surprises.
Written by Windows in the Lakes · A trading name of Home Glazing Ltd
Most of the anxiety around window and door replacement has nothing to do with the product and everything to do with the unknown: how long will it take, will the house be secure overnight, what happens if it rains, who is actually going to be in my home. Those are reasonable questions, and the answer in almost every case is that the process is more routine and less invasive than people expect.
This guide walks through the whole journey from enquiry to final sign-off, in the order it actually happens, with realistic timings for a typical Cumbrian home. It draws on the same sequence used for everything from a single replacement window in a stone cottage to a full house of aluminium windows and doors, and it is written to be read before you commit, not after the van has arrived.
Where timings vary by project size, we say so. A single door might be fitted in a morning; a whole-house replacement on a detached property is more often a week to ten days of coordinated work. What does not change is the sequence: survey, manufacture, preparation, installation, and handover.
Before getting into detail, it helps to see the shape of the whole process. Every stage matters, but the two that most affect your day-to-day life — installation and the immediate aftercare period — are also the shortest.

The process usually begins with a conversation rather than a tape measure. This is where you describe what you are trying to achieve — more light in a kitchen, a quieter bedroom facing a road, a whole-house upgrade to bring an older property up to modern thermal standards — and get an honest view on what is realistic for the building.
For period properties, conservation areas or listed buildings, this is also the point at which planning considerations are raised. It is far better to know before you fall in love with a particular frame colour that the property sits inside a conservation area with restrictions on materials and finish.
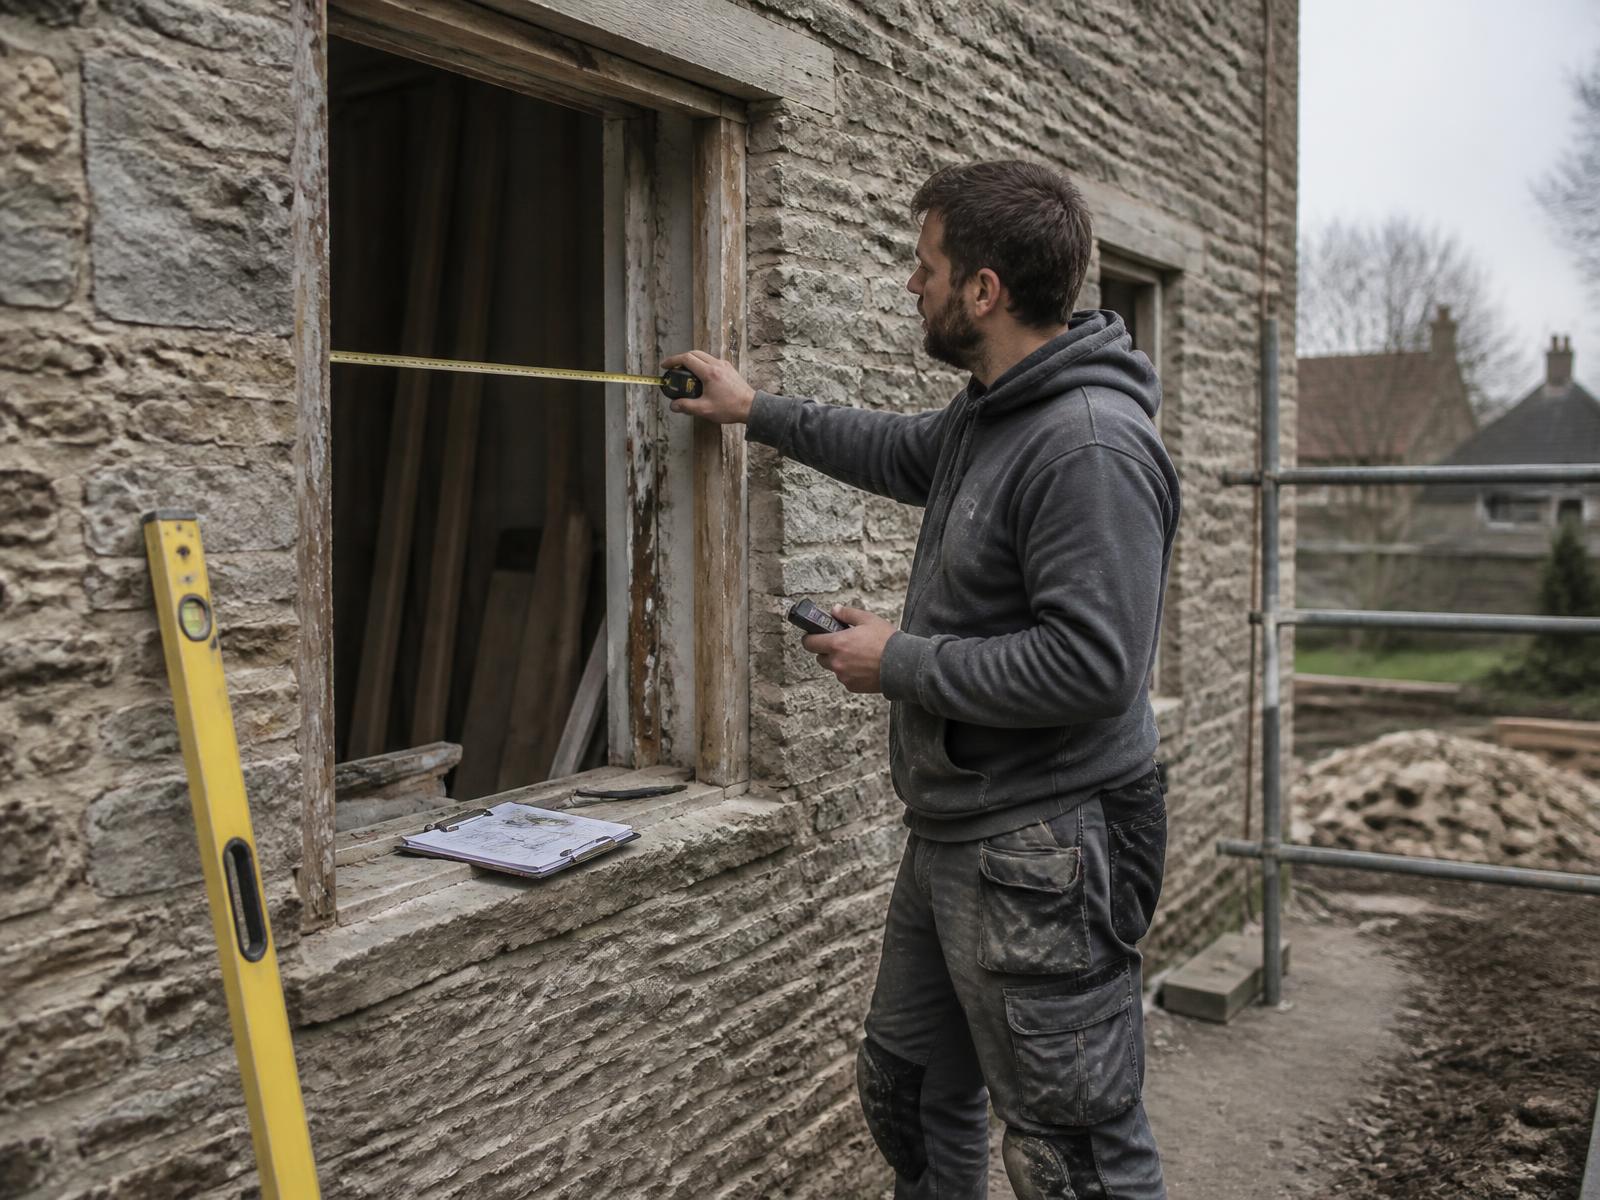
Once you decide to proceed, a technical surveyor visits to measure every opening precisely, check the condition of surrounding brickwork, render, timber or stone, and confirm structural details that affect the final specification — cavity widths, lintel positions, sill depths and existing drainage.
This is also when practical questions are settled: which way doors should hang, where handles sit, whether trickle vents are needed for building regulations compliance, and how existing frames will be removed without damaging surrounding finishes. On older stone or render properties, the surveyor will flag anything that needs remedial work before new frames go in, so it can be priced and scheduled rather than discovered on installation day.
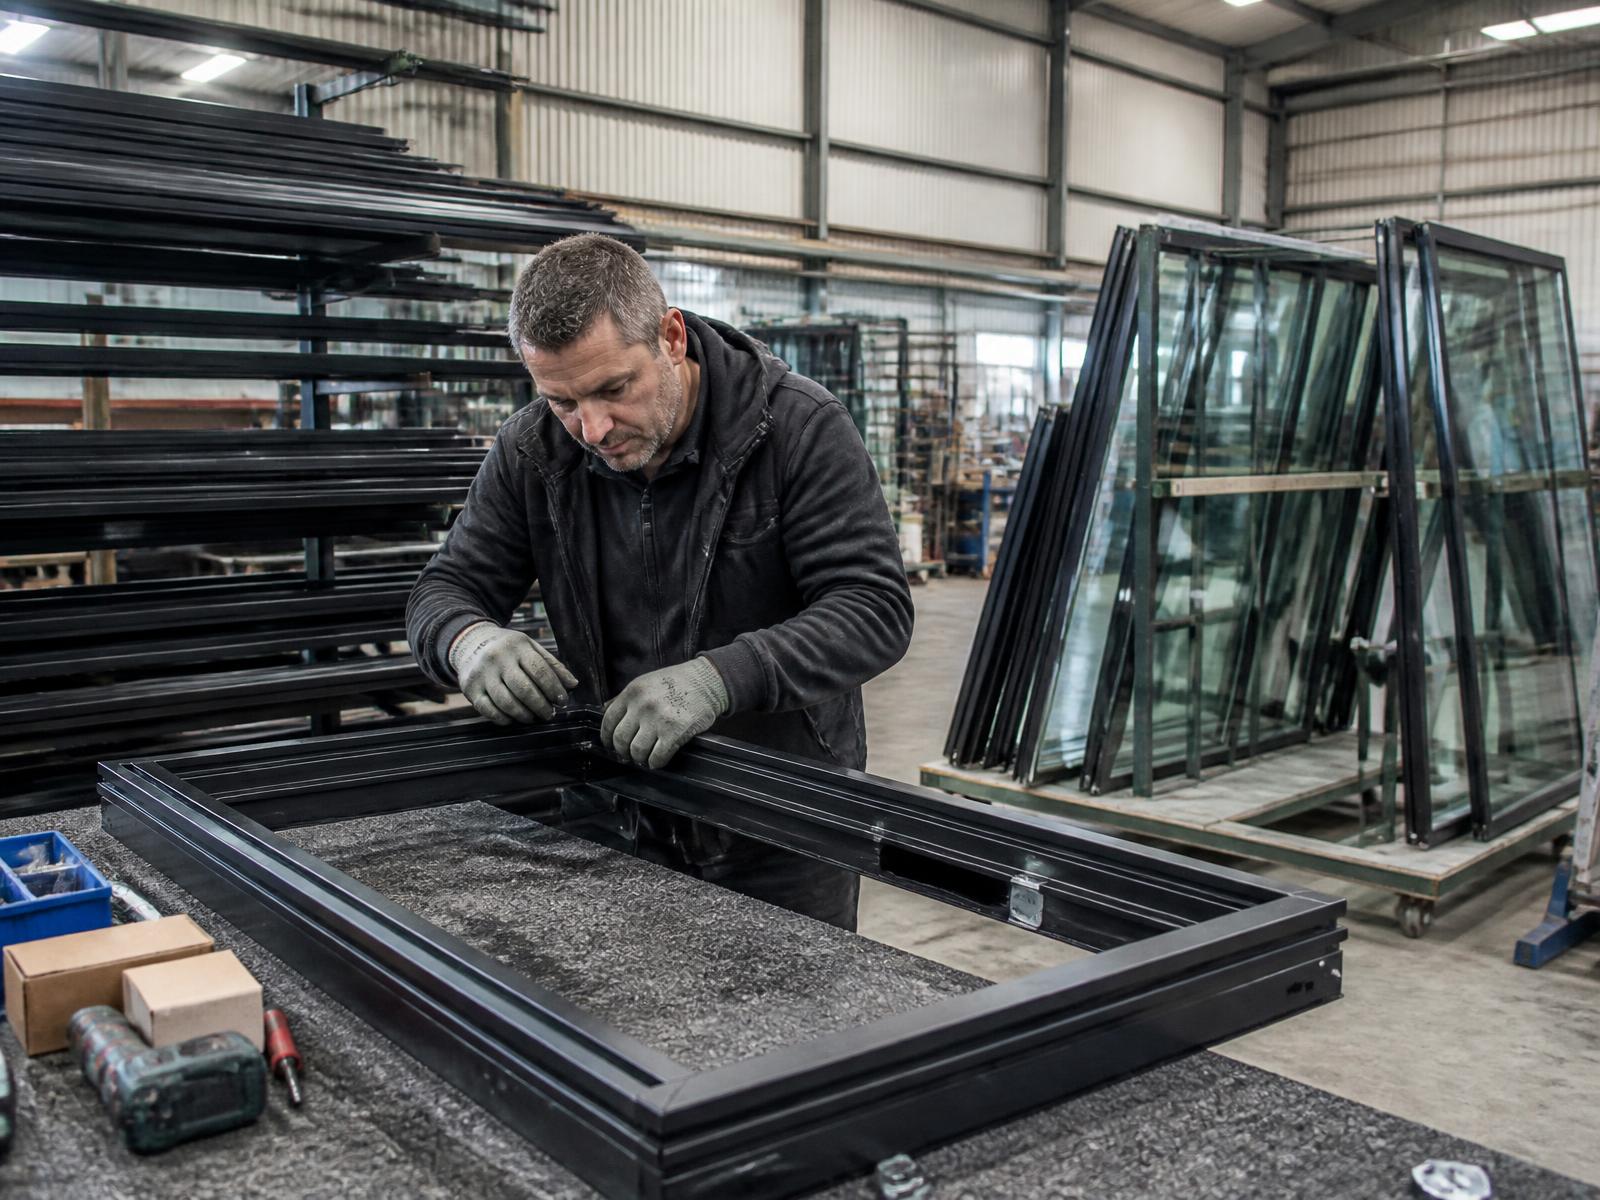
Between survey and installation, your windows or doors are manufactured to order. This is not a stock product pulled off a shelf: aluminium and Residence Collection frames are cut, welded or mechanically jointed, glazed and finished to the exact dimensions confirmed at survey.
Lead times vary by system and by how busy the factory is, but as a guide, aluminium windows and doors typically take six to ten weeks from confirmed order to delivery, and Residence Collection timber-look uPVC is often a little quicker, at four to eight weeks. Bespoke colours, slim-frame sliding systems and large or unusual sizes tend to sit at the longer end.
| Product | Typical lead time |
|---|---|
| Residence Collection windows | 4–7 weeks |
| Aluminium windows | 5–8 weeks |
| Aluminium sliding doors | 6–9 weeks |
| Aluminium bifolding doors | 6–10 weeks |
| Composite entrance doors | 3–6 weeks |
| Bespoke colours or oversized units | add 1–3 weeks |
You will usually be contacted to confirm a start date once frames are complete and quality-checked at the factory. This is the point to sort out the practical things covered in more detail in our guide to preparing your home: clearing access to each opening, moving valuables and delicate items, and arranging parking for a van or two.
For larger projects, the installation team will usually talk through the running order in advance — which rooms first, whether any openings need to stay weathertight overnight partway through the job, and what that means for pets, children or anyone working from home during the week.
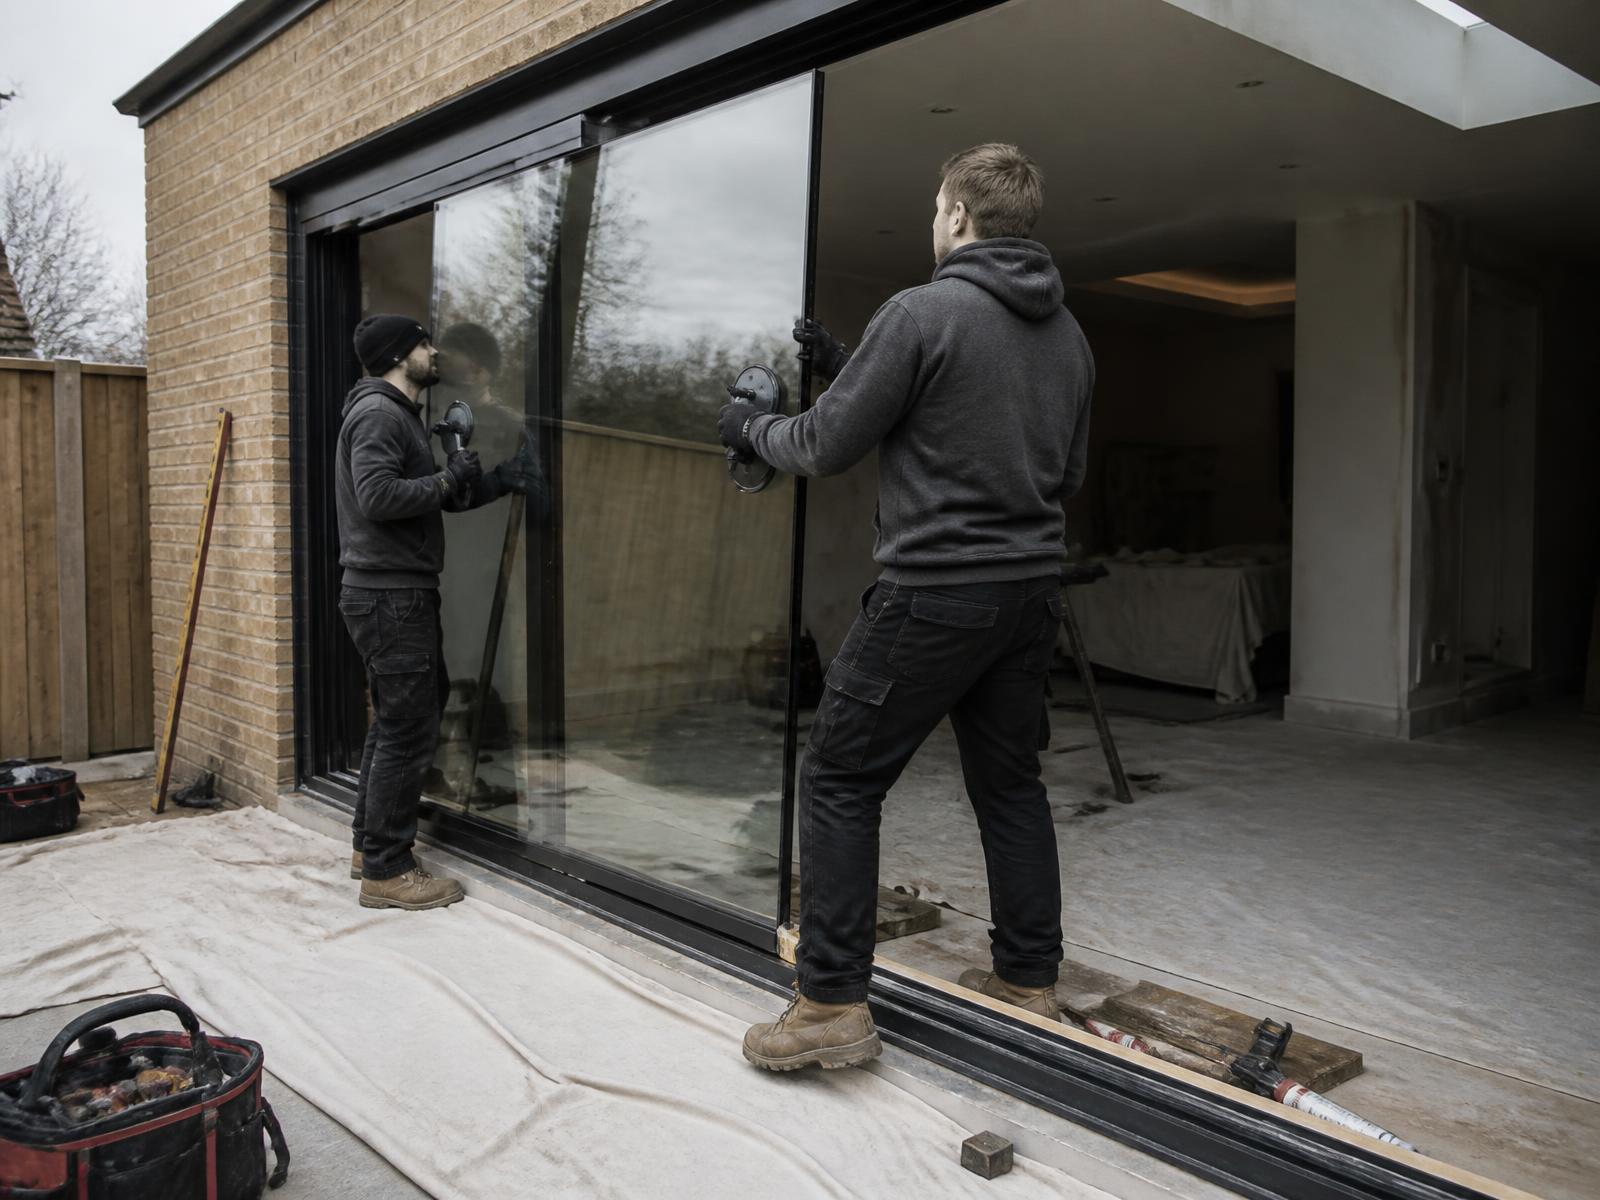
This is the stage most homeowners picture when they think about window replacement, and it is usually more contained than expected. A single window or door is often a half-day job. A full house is a coordinated sequence rather than one long chaotic event.
| Project | Typical duration |
|---|---|
| Single window | 2–4 hours |
| Single entrance or patio door | 3–5 hours |
| Whole-house windows, 3-bed | 3–4 working days |
| Whole-house windows, 4-bed | 4–6 working days |
| Windows and doors combined, larger home | 6–10 working days |
| Bifold or large sliding door addition | 1–2 days per opening |
Installation is carried out by experienced installation teams we know and trust, specialists who fit our products day in, day out and are familiar with the particular challenges of Cumbrian properties: solid stone walls, exposed elevations, and the settlement and irregularity you find in buildings that are often well over a century old.
You should expect the team to be identifiable, punctual, and willing to explain what they are doing at any point. If you have specific concerns — a nervous pet, a home office that needs quiet hours, a driveway that cannot be blocked — raise them before the day, not on it.
Cumbria's weather is a genuine factor in scheduling, and a sensible installer will not open up a large elevation on a day with heavy driving rain forecast. Light rain rarely stops work; teams carry protective sheeting for exactly this reason. Expect some noise from removal work, some dust despite protective sheeting, and the ordinary presence of a van outside for the duration.
Heating and hot water are not affected unless a boiler flue happens to sit within a window being replaced, which is unusual and would be flagged at survey. Broadband and telephone lines are occasionally routed near openings; this is also checked in advance so nothing is disconnected unexpectedly.
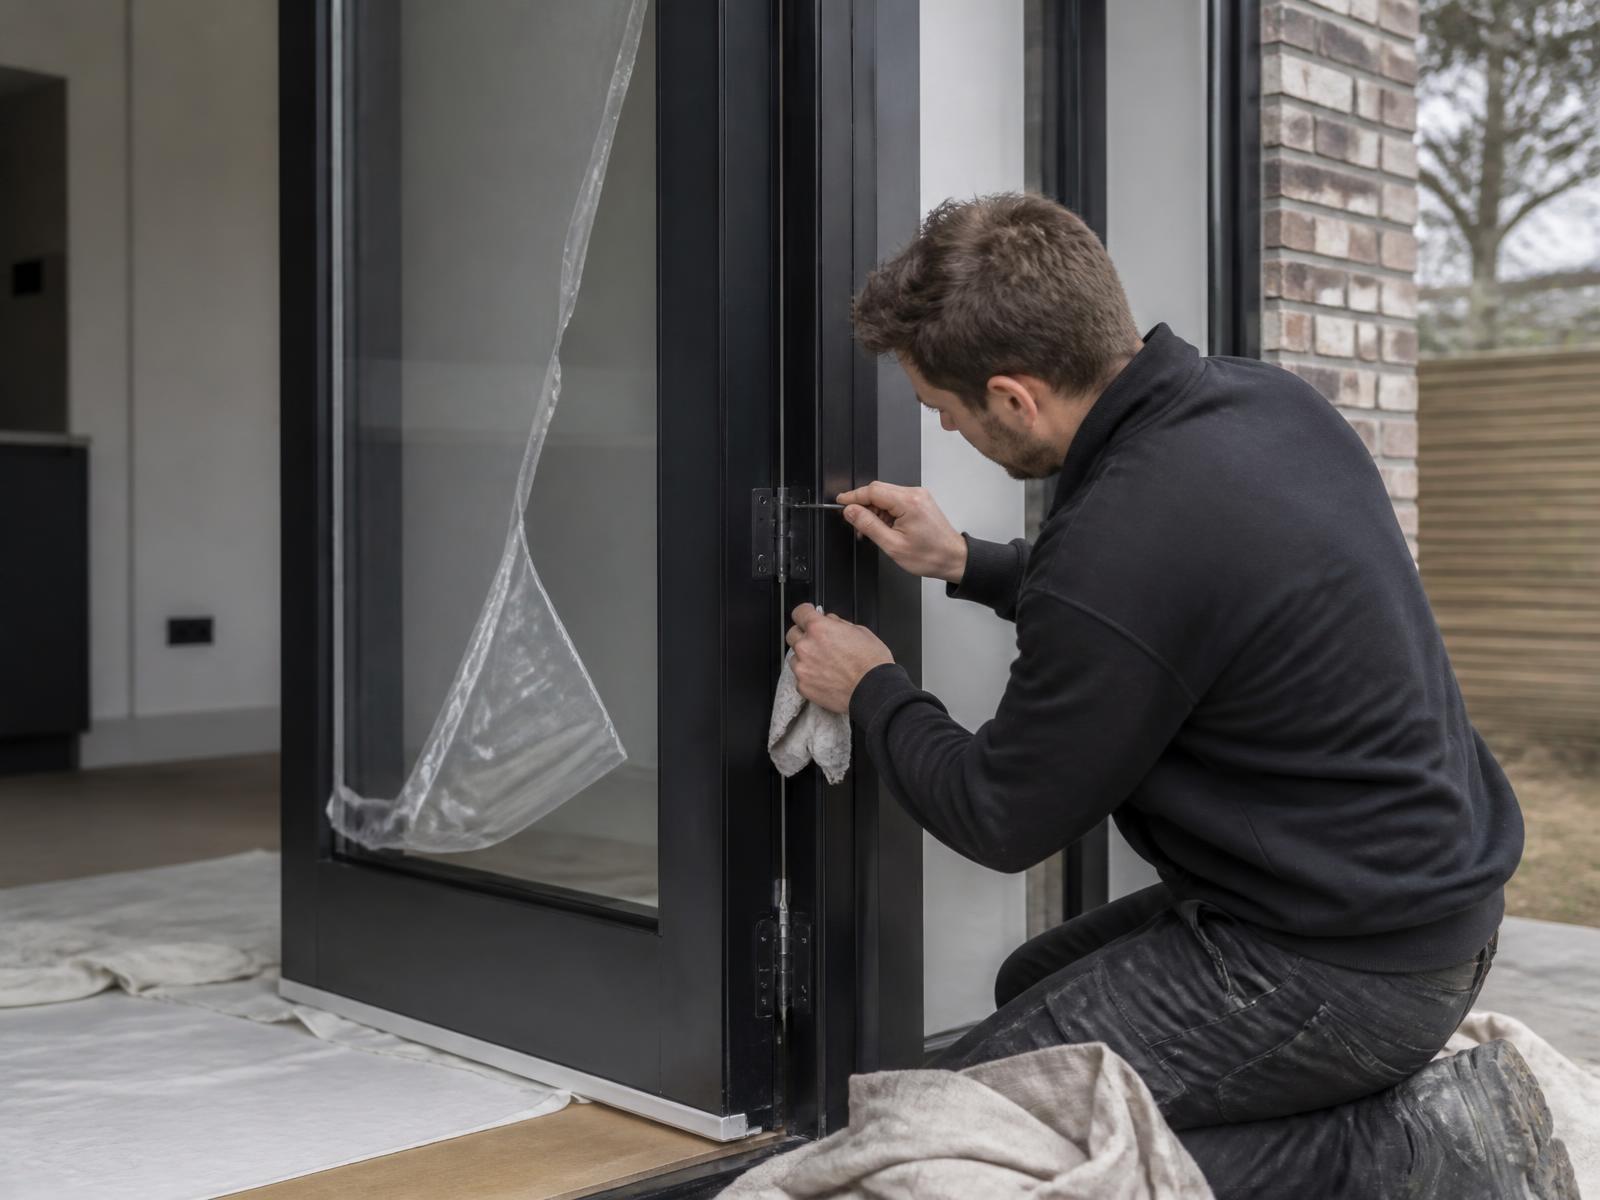
At the end of the job, someone walks the property with you, opens and closes every window and door, demonstrates hardware including any multi-point locking or restrictors, and answers questions on the spot. Any snags — a stiff handle, a trim that needs a final scribe, a touch-up to paintwork disturbed during the work — are noted and scheduled for a return visit, typically within a week or two.
You should receive guarantee documentation, care and cleaning instructions, and, where applicable, a FENSA or Certass compliance certificate confirming the work meets current building regulations. Keep these with your household paperwork; they matter if you sell the property.
New sealant around frames typically needs a short period to fully cure, and it is sensible to avoid pressure-washing new frames or heavy cleaning for the first couple of weeks. Our separate guides to aftercare and maintenance cover this in detail, including the simple seasonal routine that keeps hardware and seals performing for decades.
It is also worth knowing what your guarantee actually covers from this point, since the paperwork can look denser than it needs to. Our guide to guarantees sets out, in plain terms, what is covered, for how long, and what would invalidate cover.
Next step
We design, specify and install across Cumbria, the Lake District and the wider North. Send drawings, photographs or simply a description of the building and we will tell you what is possible and what it should cost.
Filmed on site
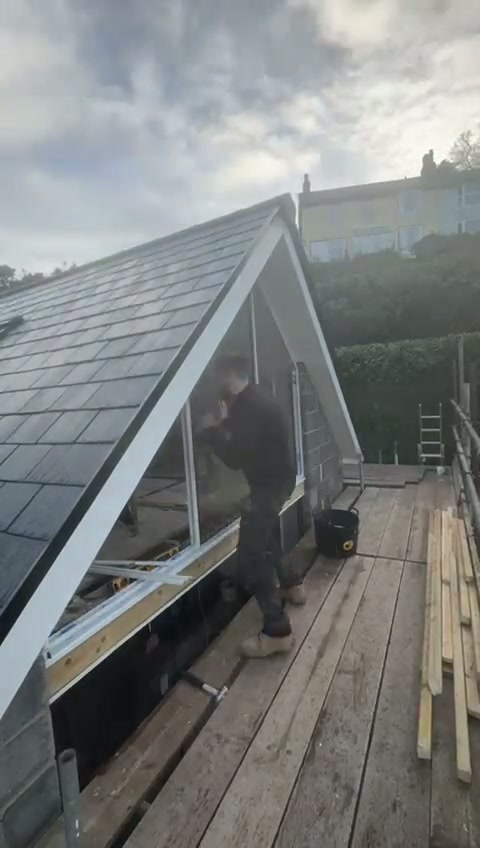
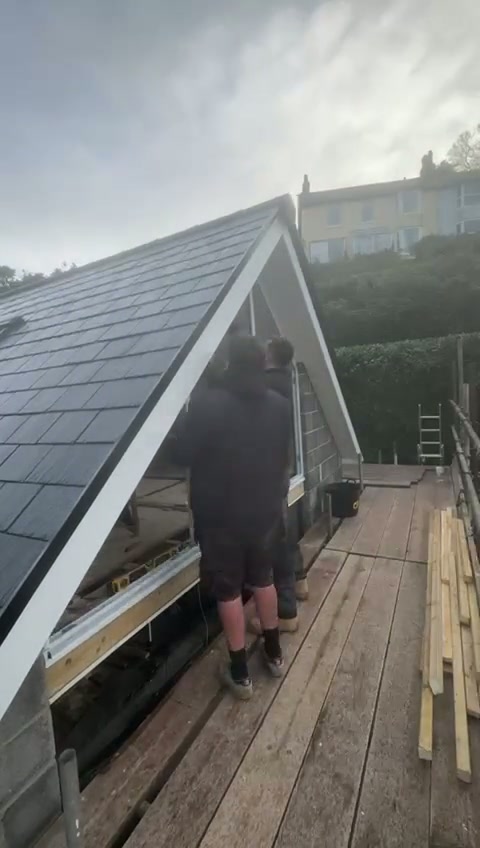
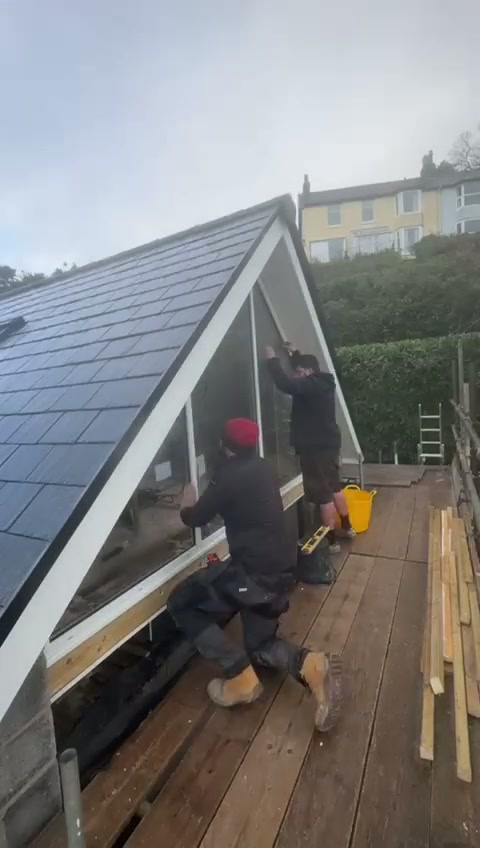
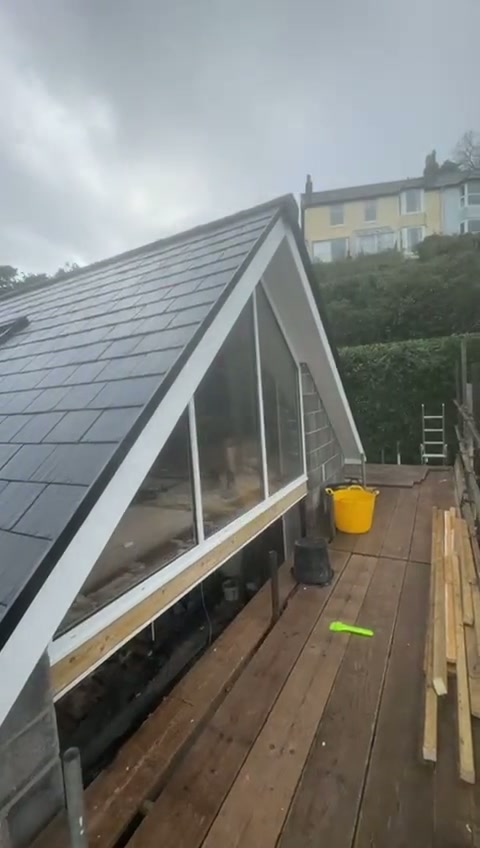
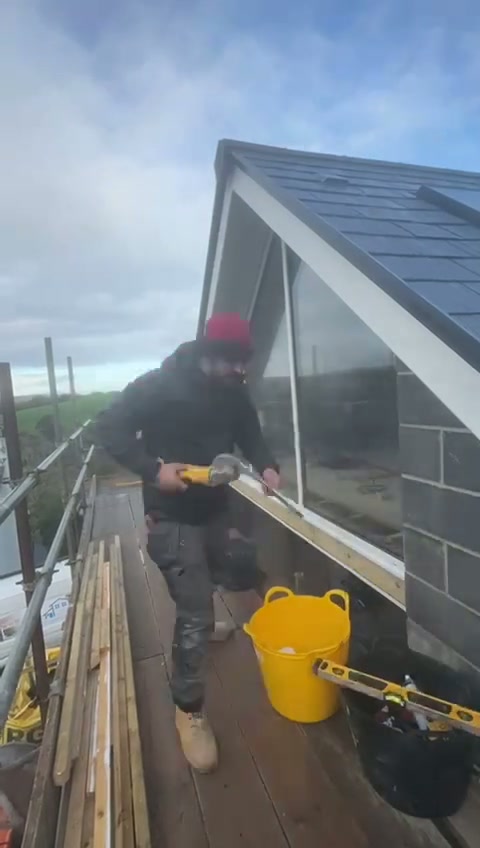
Two installers set, pack and level a raked aluminium gable screen on a first-floor deck, then glaze the apex — filmed over a working morning.
0:32 · Windermere, Cumbria · August 2025
This is the part of a project homeowners rarely get to watch: a raked, gable-end aluminium screen being set into a finished opening at first-floor level. The frame is offered up dry, packed off the structure, checked for plumb and level, and only then fixed and glazed.
Everything about the sequence is deliberate. The deck is boarded and the working area kept to one side so the finished surfaces below are never used as a workbench. Packers carry the load at fixed points rather than the frame being pulled square with fixings. The apex angle is cut and jointed in the factory to the surveyed pitch, so nothing is adapted on site.
Filmed on site
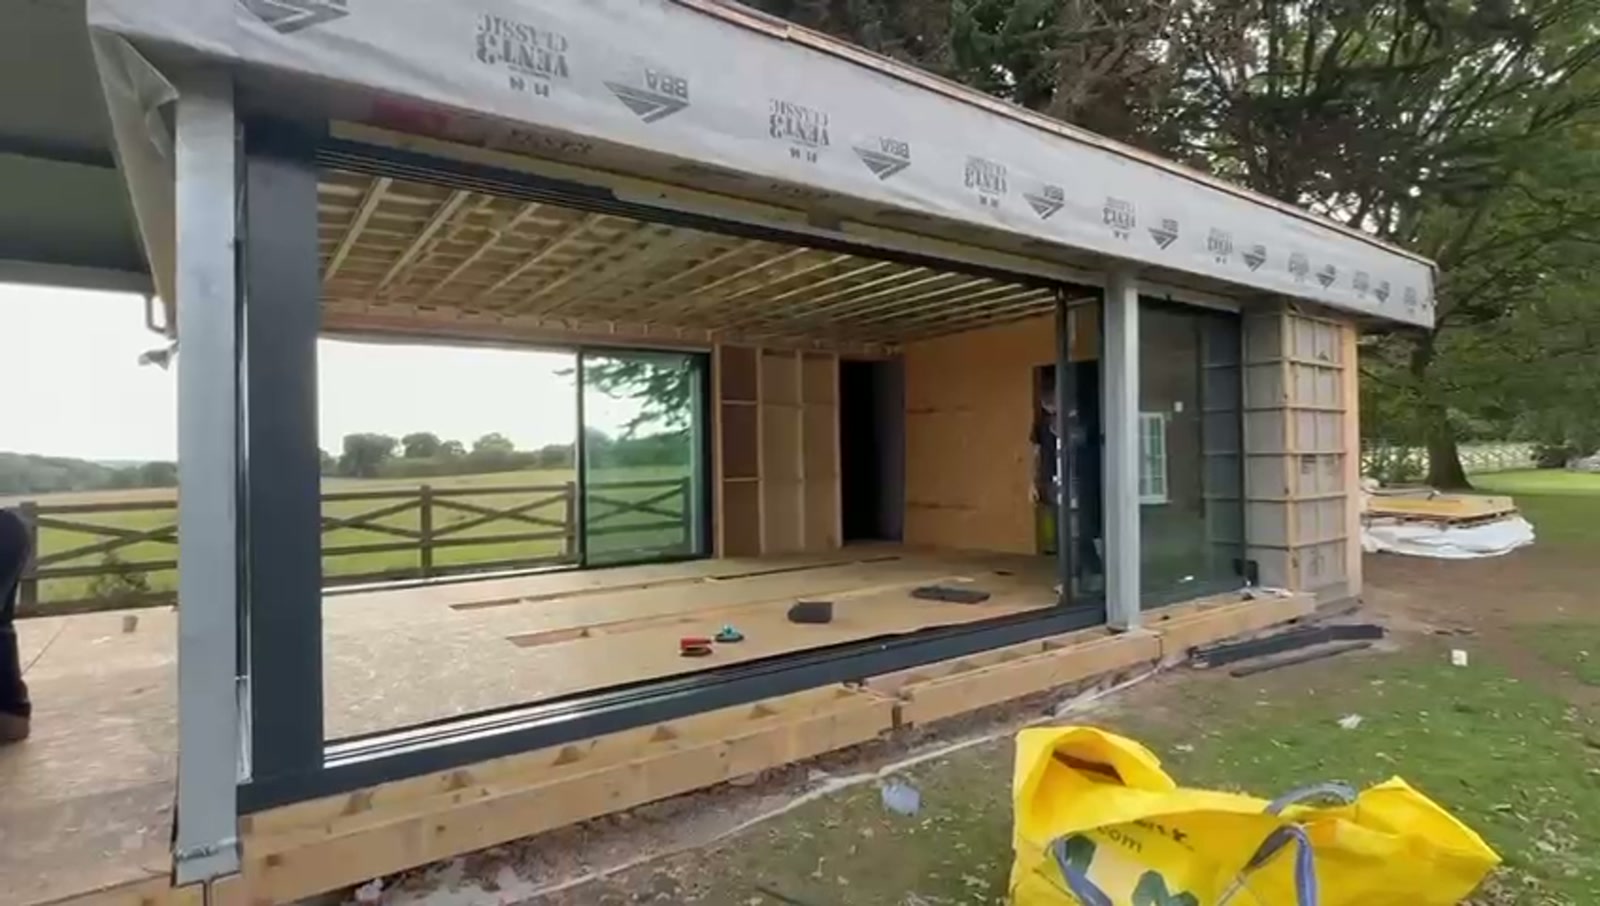
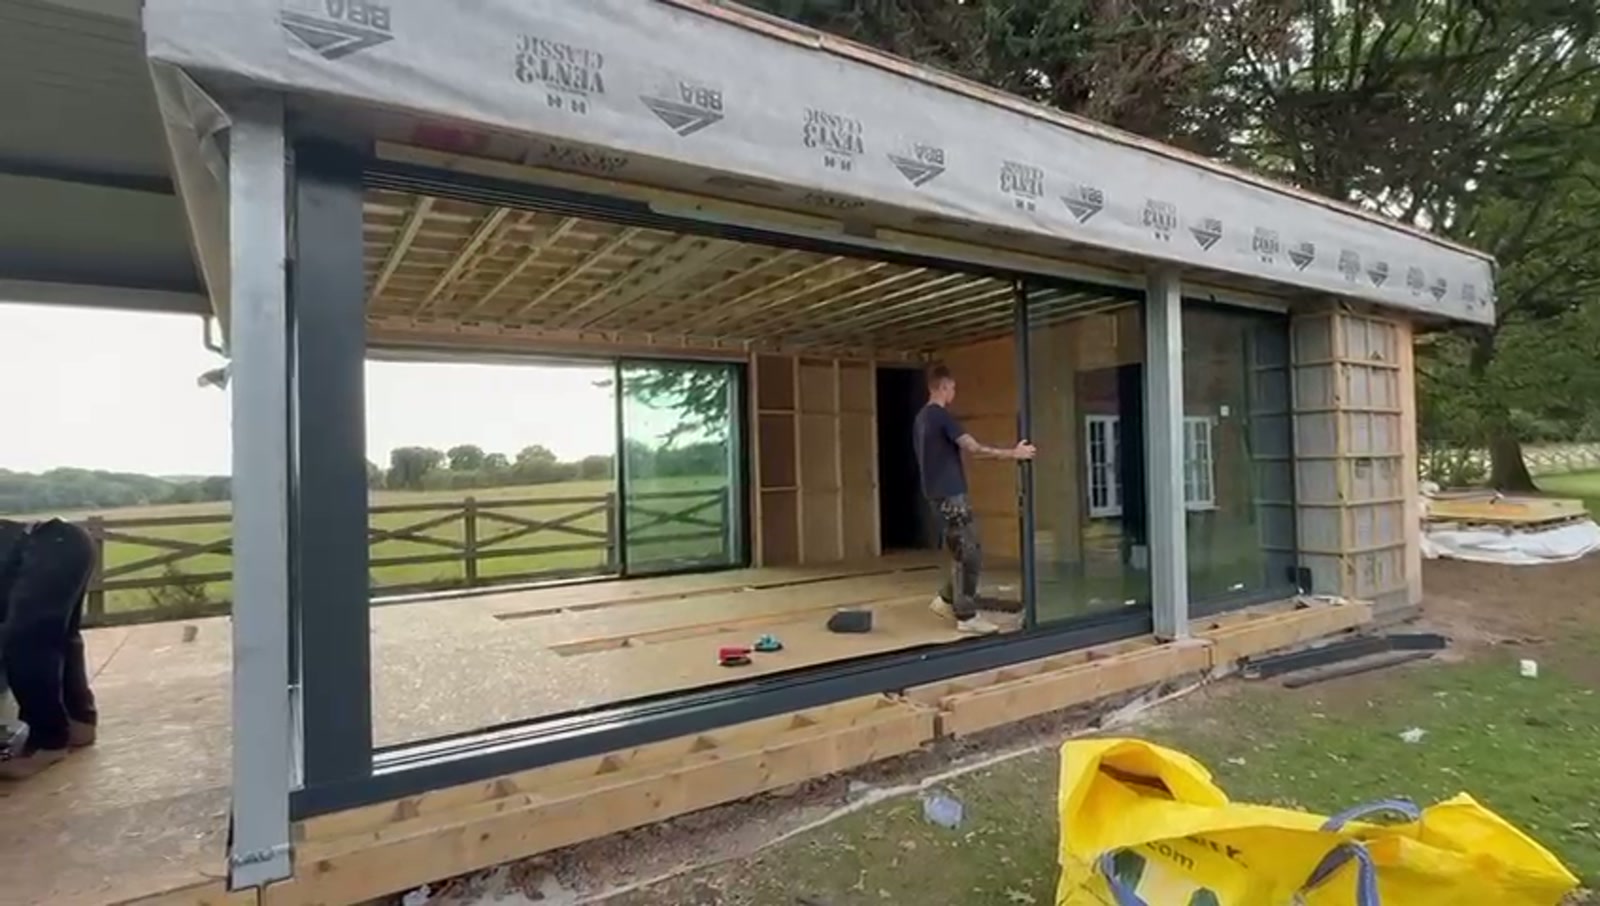
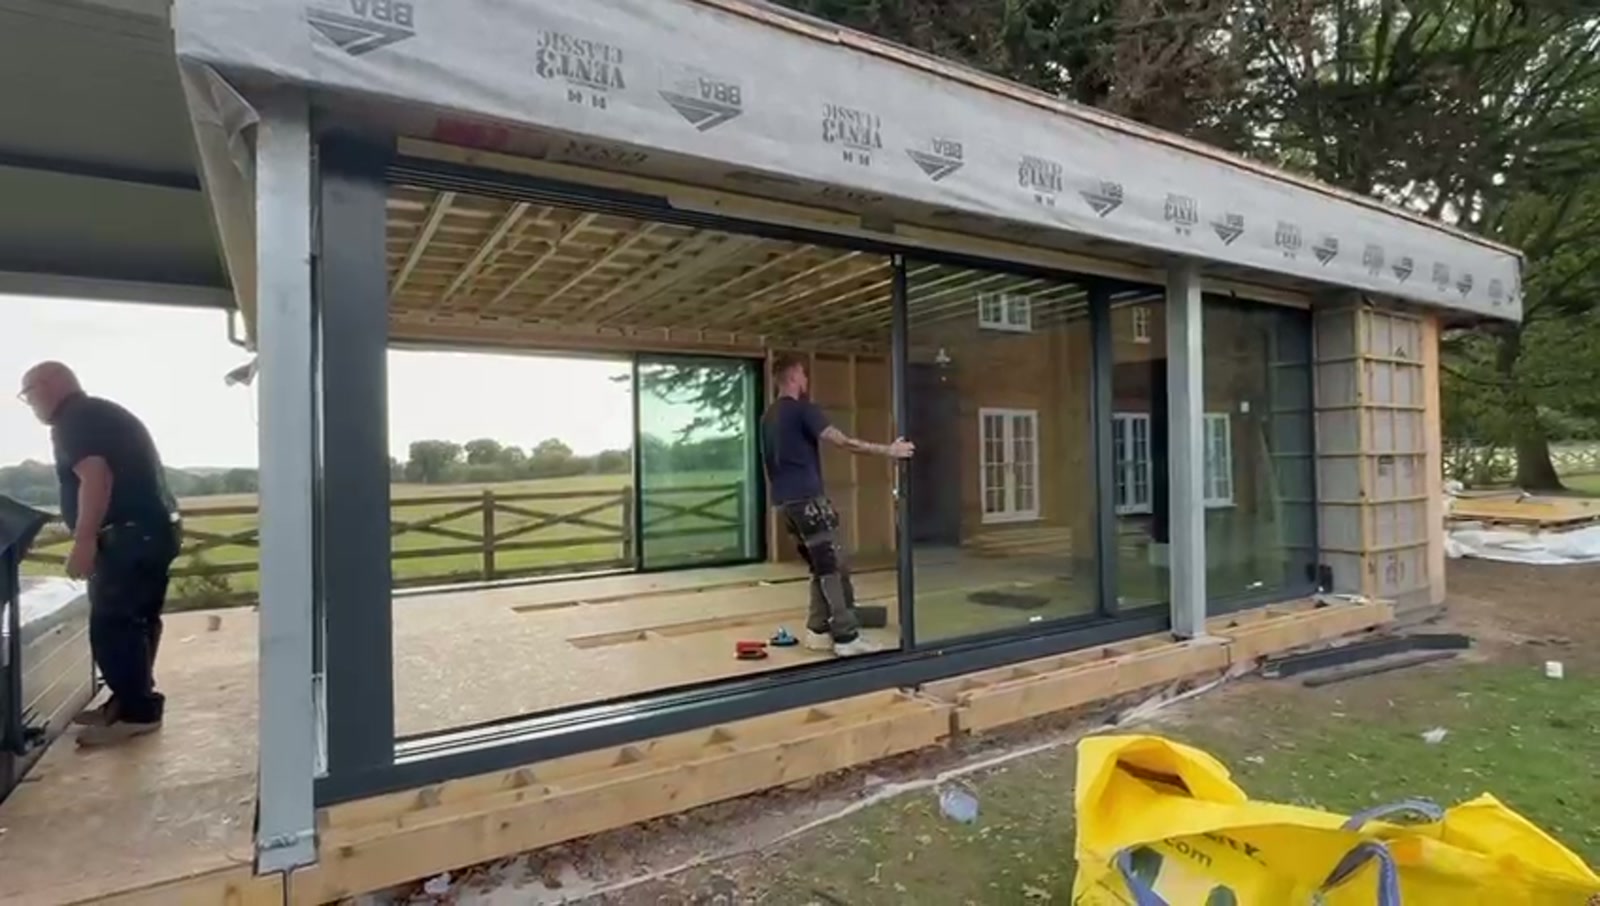
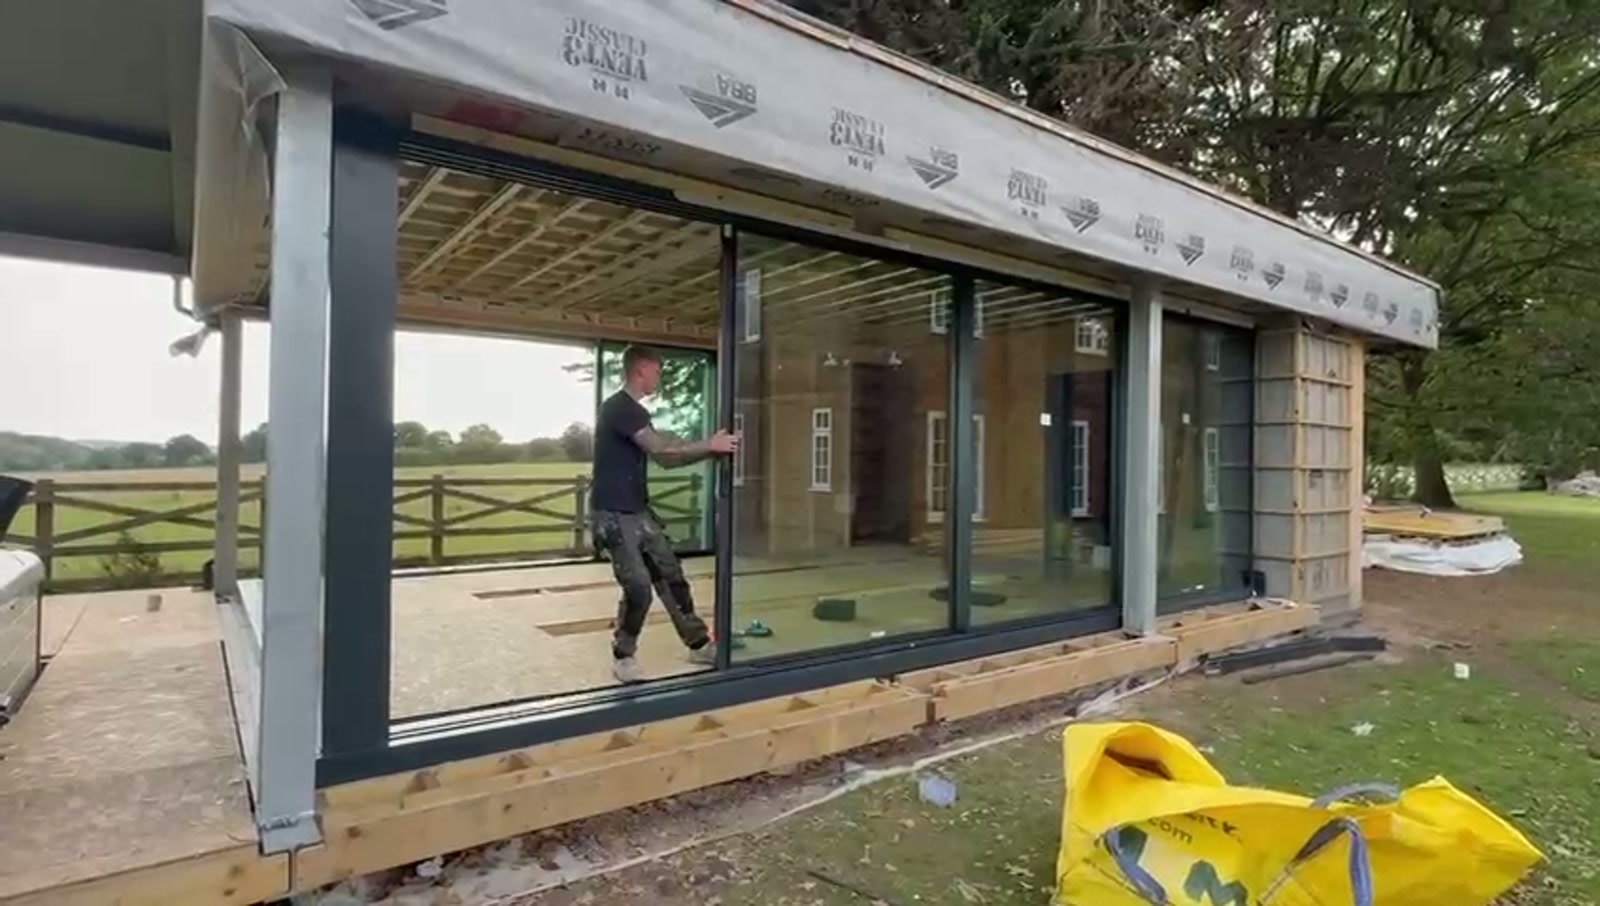
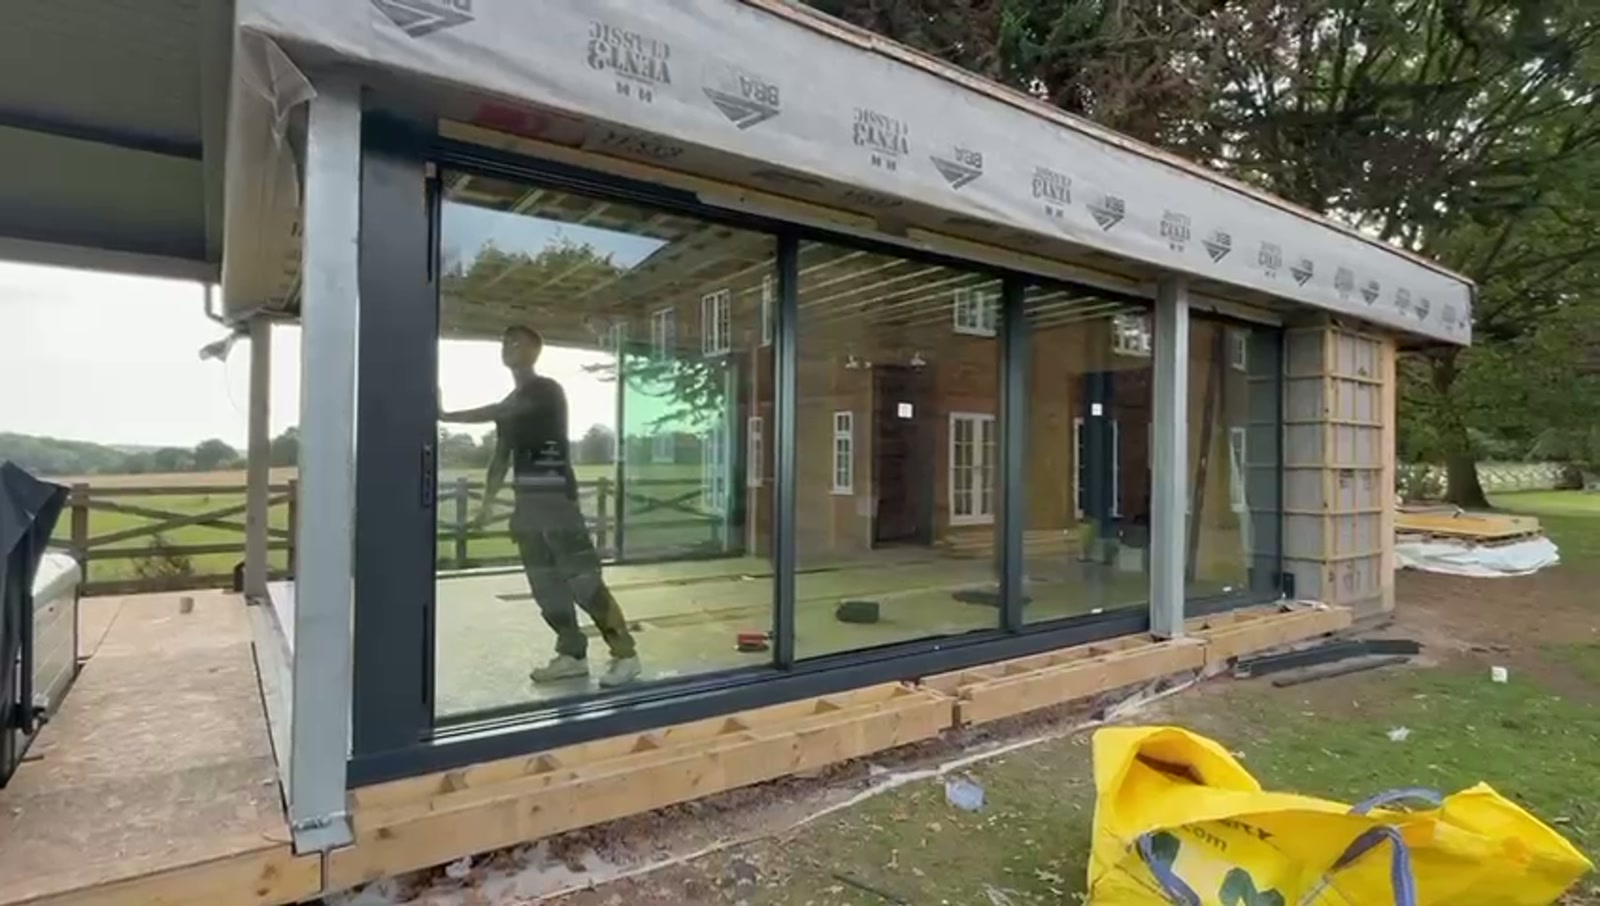
The moment a glazed, fifteen-metre sliding run is first moved on its track — the commissioning and adjustment stage, filmed on a garden room build near Grasmere.
0:17 · Near Grasmere, Cumbria · September 2025
This is the stage homeowners feel every single day for the next twenty years, and the one that separates a competent fit from a genuinely good one. The frames are in, the units are glazed, and the installer is now running each panel end to end by hand — repeatedly — to prove the track, the rollers and the interlocks before anything is signed off.
What you are watching is a test, not a demonstration. A correctly commissioned sliding panel moves with one hand, at the same effort from one end of the run to the other, and stops dead where you let go of it. Any change in resistance across the track means the cill is not perfectly level or the rollers need setting, and that is corrected now — while the building is still open and everything is accessible.
Questions
If your question isn’t here, we would rather talk it through properly than guess.
Book a Design ConsultationVisit the Knowledge CentreKeep reading
Installation · 3 min read
The technical survey is where an approximate quotation becomes a fixed, accurate order. Here is what a surveyor actually checks, and why.
Installation · 3 min read
A small amount of preparation the day before installation makes the whole process faster, cleaner and less stressful.
Installation · 3 min read
Timings depend on scope, property type and product, but most projects follow a predictable pattern that is far shorter than people expect.
Installation · 3 min read
From protective flooring to how openings are secured overnight, here is exactly what stands between your home and the disruption of building work.
Build your own collection of expert advice as you plan your project.
Wondering how this applies to your own home?
Share a photograph and we’ll turn this guidance into recommendations for your property.
Ready to understand the likely investment?
Start your personalised Project Investment Guide and see comparable completed projects.
Begin
Bring us your drawings, your site photographs or simply an idea. We will tell you what is possible, what it should cost and how long it will take.